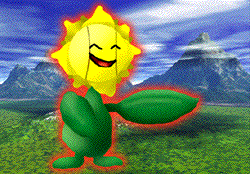
OR THIS?
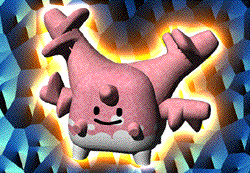
Want to produce a glowing effect like this:

OR THIS?

Well, here's the stop.
...
First off... find a picture of a Pokémon (or anything).
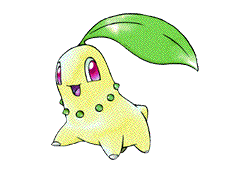
First.... knock out the white area, so that only the Pokémon is there (meaning that the area outside of the Pokémon is blank.)
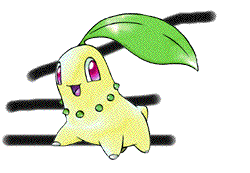
Next.... "Select All" (Select menu: All), and CUT (Edit menu: Cut) the picture. Cutting the image copies it, and then deletes it. ... Then, PASTE the image back in the same document. Doing this centers the picture, which is what we want.
Then, DUPLICATE the layer with the Pokémon on it.
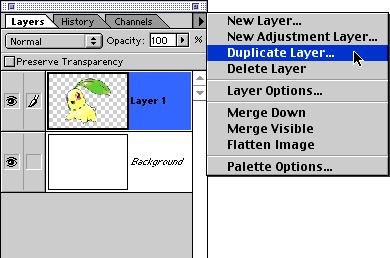
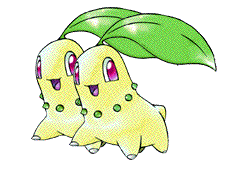
There, now we have to of them. But whatever you do, DON'T move them. (I move them here just to show you that there are two of them.
Next, take the top most layer and hide it (click on the picture of the EYE).
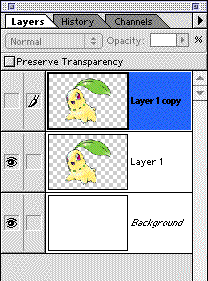
Don't worry, it's still there.
Then take the bottom layer in the layer window and right-click (Windows) or Control-click (MacOS) on the layer, which will select the image itself.
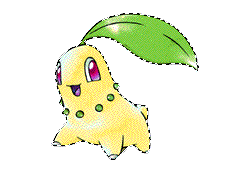
After it's selected, take
the airbrush tool (![]() ),
choose any color, and then fill in the selection with the
color.
),
choose any color, and then fill in the selection with the
color.
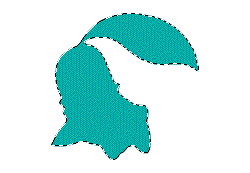
Right now, you should have this. Next, go Deslect the selection (Select menu: Deselect). .... Then, make the top later visible (by hitting the blank box where the eye once was). This will make the top most layer visible again.
Next, go back to the bottom layer. Then go to Gaussian Blue (Fliter menu: Blur: Gaussian Blur) and give it a good bluring.
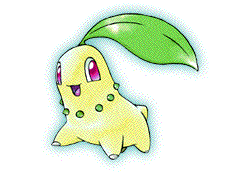
Tadah! You got your blur!! And you didn't need to buy some fansy-schmansy $100 Filter program to do it. If you want to, you can keep on duplicating the color layer to make the blur more thicker.
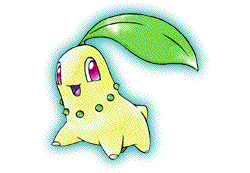
....
Now, if you want to make it glow like Corsola, then keep on going.
First, give your image a dark-ish background.
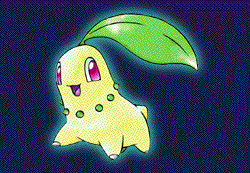
This is good enough for this example. ... Next, duplicate the colored layer. You should know how to do this by now. After that, go to "Hue/Saturation" (Image menu: Adjust: Hue/Saturation), and make the Lightness of TOP most colored layer at "+100".
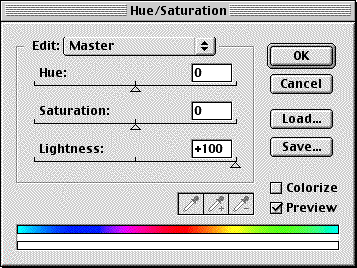
This will turn the top most colored later white. Now hit OK, and go to the white colored layer. Then, go to where it says "Normal" right next to "Opacity" in the Layers window, and select it. It's a pull down menu with all sorts of blending options (which you should know how to use by now). ... Scroll down to "Color Dodge", and select it.
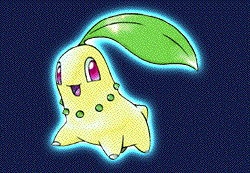
Now it actually looks like it's glowing!! Wow!! ... You can also fiddle with each colored layer with Gaussian Blur and see how much more you can spread out the glowing-ness.
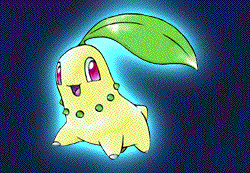
Now... with this little cool glowing tidbit, you're one step closer to becoming a fake card master. ;) .... ALso note, I do know of the "Outer Glow" function in Photoshop which does the same thing, but I feel that this way is a lot more flexable and customizable than the "Other Glow" function.